As temperatures decline and autumn leaves cover your lawn, preparing your home for the upcoming cold season becomes a top priority. While winterizing outdoor plumbing and cleaning gutter systems usually lead the seasonal home care checklist, performing proper garage door maintenance fall protocols is essential to protect your household’s safety, thermal efficiency, and overall security.
Your overhead door system serves as the primary entrance for many modern households and operates as the heaviest moving apparatus attached to your home. Taking the time for routine care before the first major freeze prevents sudden spring breakage, preserves opener motor longevity, and keeps freezing drafts out of your home.
Key Takeaway: Early autumn offers the optimal climate for inspecting, cleaning, and lubricating overhead door hardware. Proactive care now guards against emergency repair bills when freezing temperatures cause metal components to contract and strain.
The Critical Importance of Autumn Care
Colder weather imposes severe physical demands on complex mechanical door systems. Understanding how seasonal climate shifts affect your hardware helps you prevent avoidable wear and expensive breakdown scenarios.
- Metal Contraction Dynamics: Cold winter air causes steel torsion springs, lifting cables, and track channels to contract, increasing internal hardware friction and accelerating component stress.
- Seal Hardening and Degradation: Rubber bottom astragals and side perimeter seals harden and lose flexibility in low temperatures, creating gaps that admit cold drafts and moisture.
- Increased Opener Workload: Thickened track grease and stiff mechanical hardware force your garage door opener motor to draw additional amperage, risking premature motor burnout.
- Moisture Freezing Hazards: Late autumn rainfall and ice can freeze inside track channels or adhere bottom weather seals to your concrete slab, leading to torn rubber or stalled doors.
6 Steps for Complete Fall Garage Door Maintenance
Follow this comprehensive step-by-step checklist every autumn to ensure your system operates safely, smoothly, and quietly throughout the cold season ahead.
Step 1: Perform a Thorough Visual and Audible System Inspection
Begin your seasonal evaluation by closing the garage door completely and inspecting every accessible component from inside the garage.
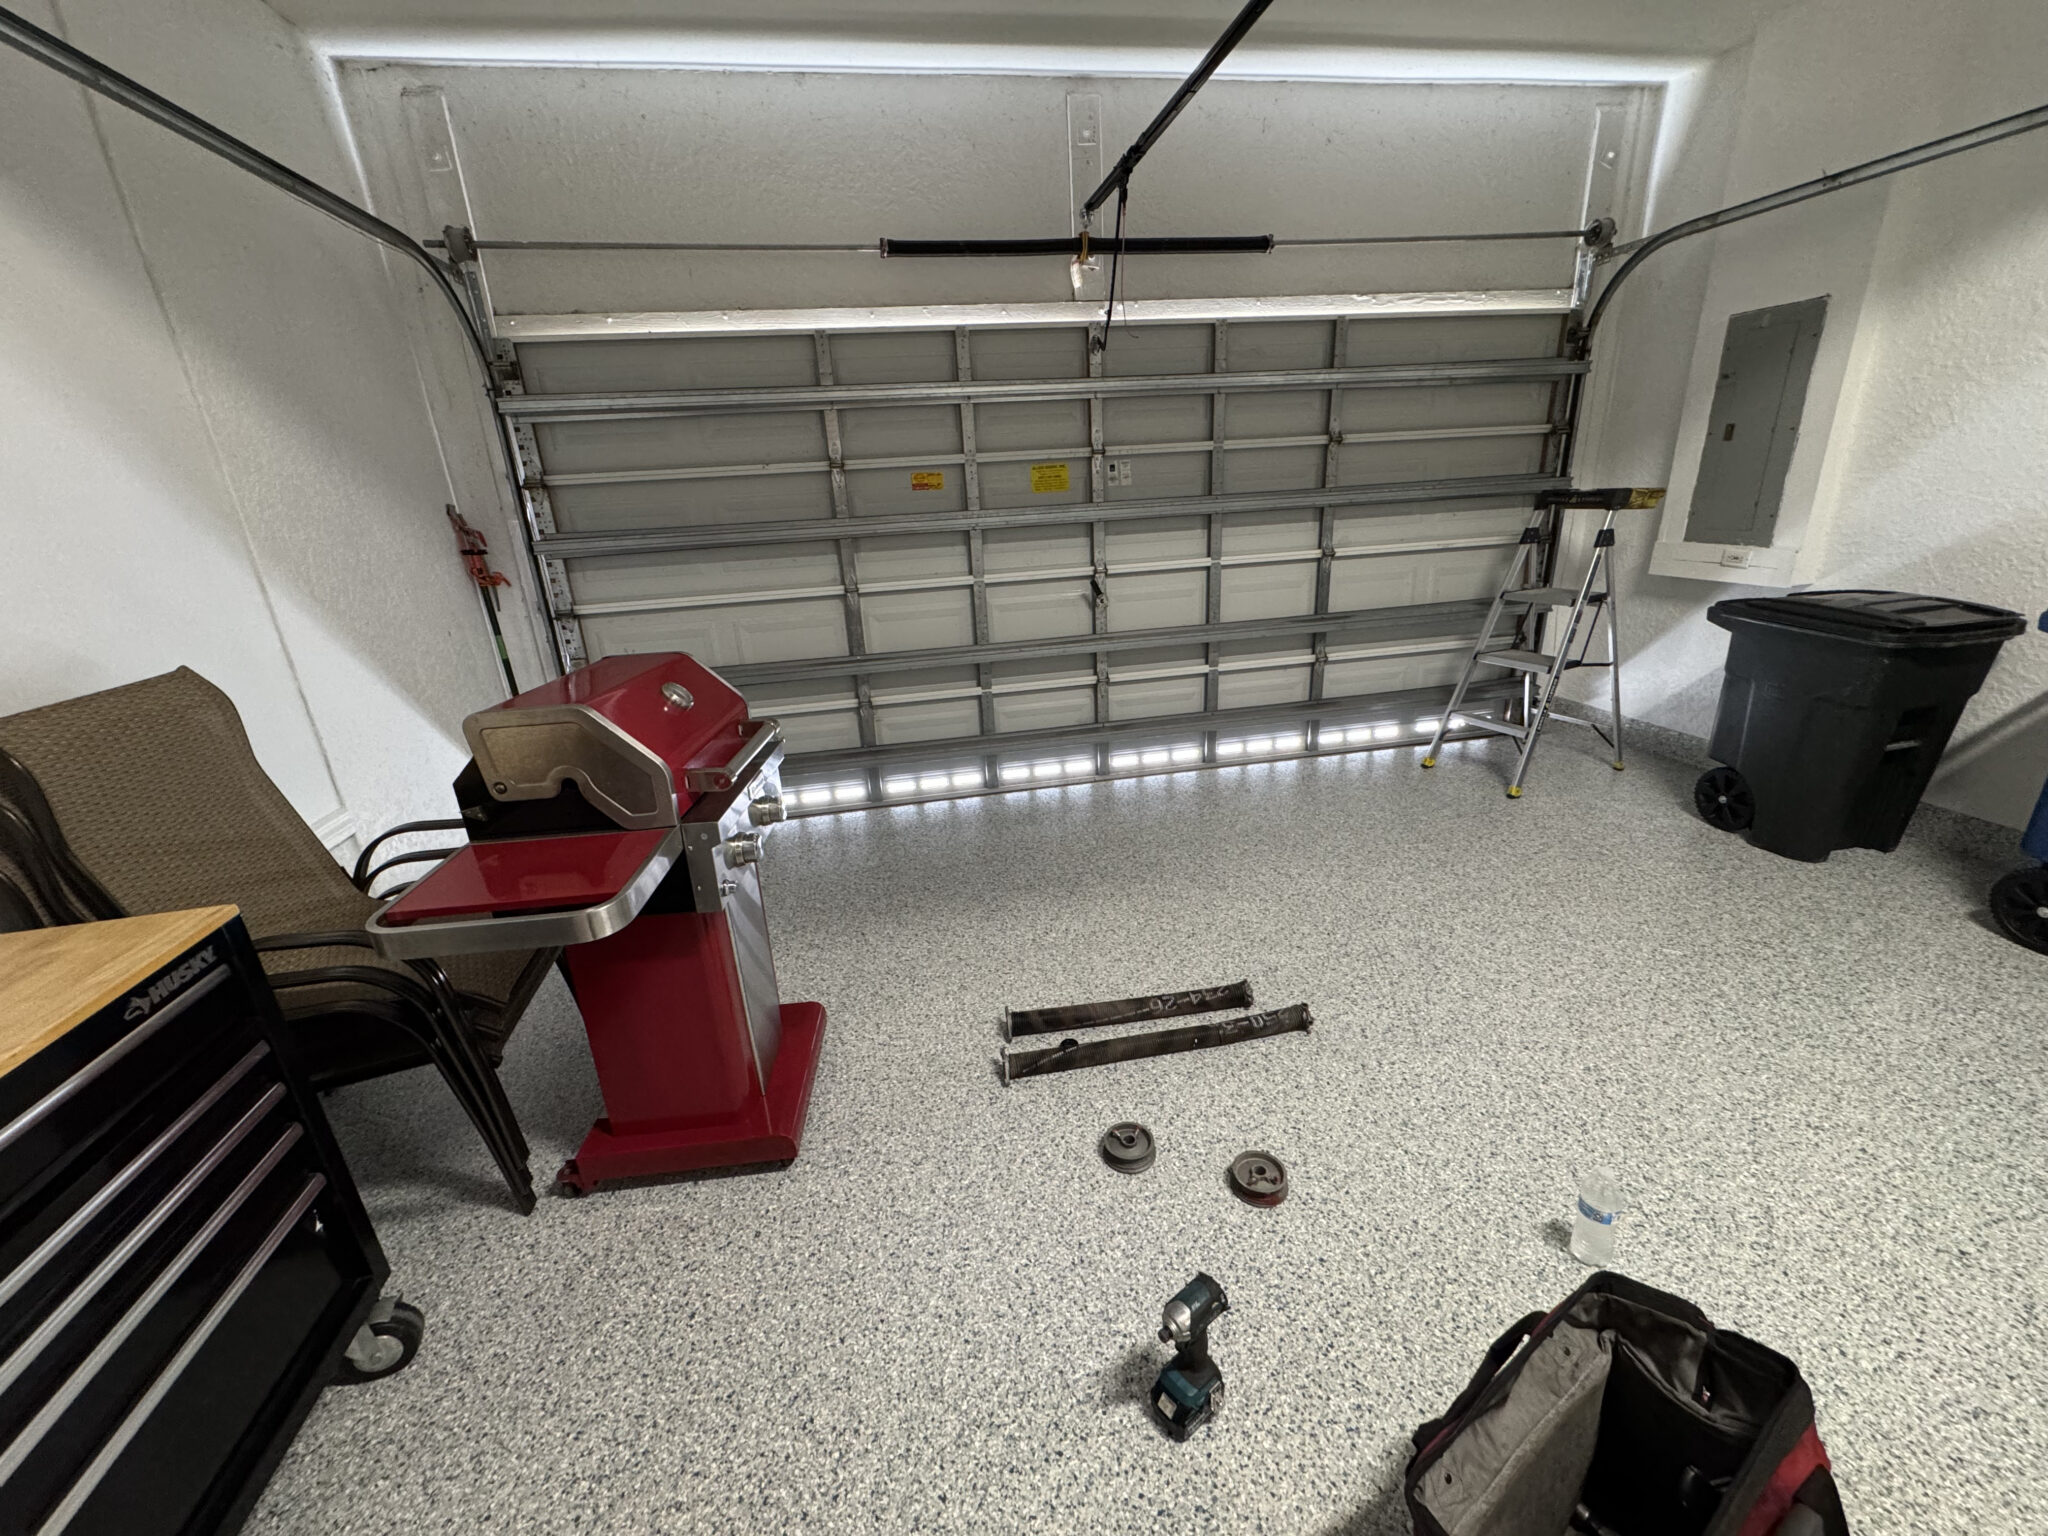
- Examine Springs and Lifting Cables: Look along the top torsion tube or side extension assemblies for rusted coils, gaps, or frayed wire strands. Never touch these high-tension components directly.
- Inspect Brackets and Fasteners: Check all roller brackets, track supports, and hinge assemblies for loose bolts or visible metal fatigue.
- Listen During Operation: Cycle the door open and closed using your automatic opener. Listen closely for unusual grinding, scraping, squeaking, or sudden mechanical jerks.
Step 2: Clean, Align, and Clear the Track Channels
Over the summer and early autumn, airborne dust, dirt, and dry leaves accumulate inside the vertical and horizontal tracks, creating operational drag.
- Wipe Down Track Surfaces: Use a clean, damp microfiber cloth paired with a mild household degreaser to wipe away dirt accumulation inside both track channels.
- Avoid Applying Track Grease: Never coat track channels with heavy grease or oil. Lubricants inside tracks trap airborne debris, forming a gritty paste that ruins roller bearings.
- Check Track Alignment: Inspect track sections with a spirit level to verify vertical alignment. If tracks are visibly bent, misaligned, or loose, contact a professional technician for adjustment.
Step 3: Apply High-Grade Lubrication to All Moving Parts
Proper lubrication minimizes metal-on-metal friction, repels moisture buildup, and ensures whisper-quiet operation during low-temperature cycles.
Use a dedicated silicone-based or white lithium lubricant spray. Avoid basic WD-40, as it acts as a solvent that strips away essential lubricants and attracts dirt.
- Torsion and Extension Springs: Coat the entire exterior of the spring coils lightly to prevent binding and surface oxidation.
- Rollers and Hinge Pivots: Apply lubricant directly to nylon roller bearings and all metal hinge pivot pins.
- End Bearing Plates and Pulleys: Spray end plates and cable pulleys to ensure smooth cable travel without drag.
Step 4: Inspect and Replace Worn Weather Seals
Perimeter weather stripping serves as your primary defense line against bitter autumn winds, driving rains, and unwelcome garden pests.
- Inspect Bottom Astragal Rubber: Examine the rubber seal along the bottom edge for flattening, cracks, or missing chunks that compromise insulation.
- Evaluate Side Jamb Seals: Check vinyl flanges along the top and side door frames to ensure they flex tightly against outer door panels when closed.
- Conduct a Daylight Leak Test: Turn off interior garage lighting during daytime, close the door, and look along the edges for visible daylight penetration.
If you observe cracking, brittle rubber, or visible light gaps along the perimeter when the door is closed, replace the seals promptly to retain heat.
Step 5: Test Automatic Safety Features and Balance
Verifying that your automatic door opener safety mechanisms function properly is critical for maintaining home safety and meeting safety regulations.
- Test System Balance: Disconnect the opener by pulling the red manual release cord while the door is fully closed. Manually raise the door halfway up. A properly balanced door remains stationary in mid-air. If it snaps open or falls shut, your springs require professional adjustment.
- Test Mechanical Reversal: Lay a 2×4 wooden board flat on the garage floor beneath the door’s path. Close the door via the automatic opener. The door must reverse immediately upon making contact with the wood.
- Test Photo-Eye Sensors: Initiate door closure and wave a broom handle between the infrared sensors near the floor. The door should stop instantly and reverse upward. Clean lenses with a lint-free cloth and align sensor brackets if indicator lights flicker.
Step 6: Clean Panels and Verify Insulation Integrity
Clean outer door panels with warm water and a mild vehicle soap to wash away corrosive grime and debris. Inspect wooden doors for peeling paint or rot, and check steel doors for rust spots that require touch-up paint. Insulated doors significantly reduce thermal transfer, protecting adjacent rooms and lowering winter energy bills.
Autumn Maintenance Task Overview
| Maintenance Task | Target Component | Recommended Tool / Product | Ideal Frequency |
|---|---|---|---|
| Visual Check | Springs, cables, hinges | Flashlight & spirit level | Monthly |
| Track Cleaning | Track interior channels | Microfiber rag & degreaser | Every 6 months |
| Hardware Lubrication | Springs, rollers, hinges | Synthetic silicone spray | Bi-annually (Fall/Spring) |
| Weather Seal Check | Bottom seal & side trim | Replacement vinyl/rubber | Annually in Fall |
| Safety Testing | Photo-eyes & auto-reverse | 2×4 board & clean cloth | Monthly |
When to Hire a Licensed Technician
While routine cleaning and surface lubrication are ideal homeowner projects, high-tension mechanical components present significant safety risks. Never attempt to adjust, repair, or unbolt torsion springs, bottom corner brackets, or lifting cables on your own.
If your autumn inspection uncovers frayed cables, broken spring coils, bent tracks, or an unresponsive opener motor, contact a qualified garage door repair professional right away. Certified specialists have the specialized tools, technical expertise, and safety equipment necessary to service high-tension garage door systems safely.
Protect Your Overhead Door Investment
Investing a short amount of time into proper maintenance before winter arrives protects your garage system against harsh weather damage and unexpected failures. By cleaning track channels, replacing deteriorated weather seals, lubricating moving hardware, and testing vital safety features today, you ensure dependable performance, improved energy efficiency, and peace of mind all season long